Ask anyone who has installed PPF what made the biggest difference and most will say the same thing: prep. The squeegee work gets all the attention in videos, but what you do before the first piece comes off its liner decides how clean the result looks and how long the edges stay down. This is our full routine, start to finish.
Step 1:Choose your space and your day
A sheltered, wind-free space is easiest. A garage is ideal, but a carport or canopy works too; see installing PPF without a garage. Avoid direct sun, which dries the slip solution too fast and makes film hard to position. Aim for roughly 15 to 25 °C at the panel.
If you’re working in a garage, sweep it the day before and lightly mist the floor before you start so dust stays put. Turn off any fans that move air across the car.
Step 2:Gather your supplies
- Two spray bottles, clearly labeled SLIP and TACK
- Distilled water, a few liters
- Baby shampoo, for the slip solution
- Isopropyl alcohol, for the tack solution and the final wipe-down
- A PPF squeegee with a soft or felt edge
- A stack of clean microfibre towels
- A clay bar or clay mitt and clay lubricant
- A heat gun or hair dryer with a low setting
- A bright LED work light
- A clean folding table to lay pieces on
Step 3:Wash thoroughly
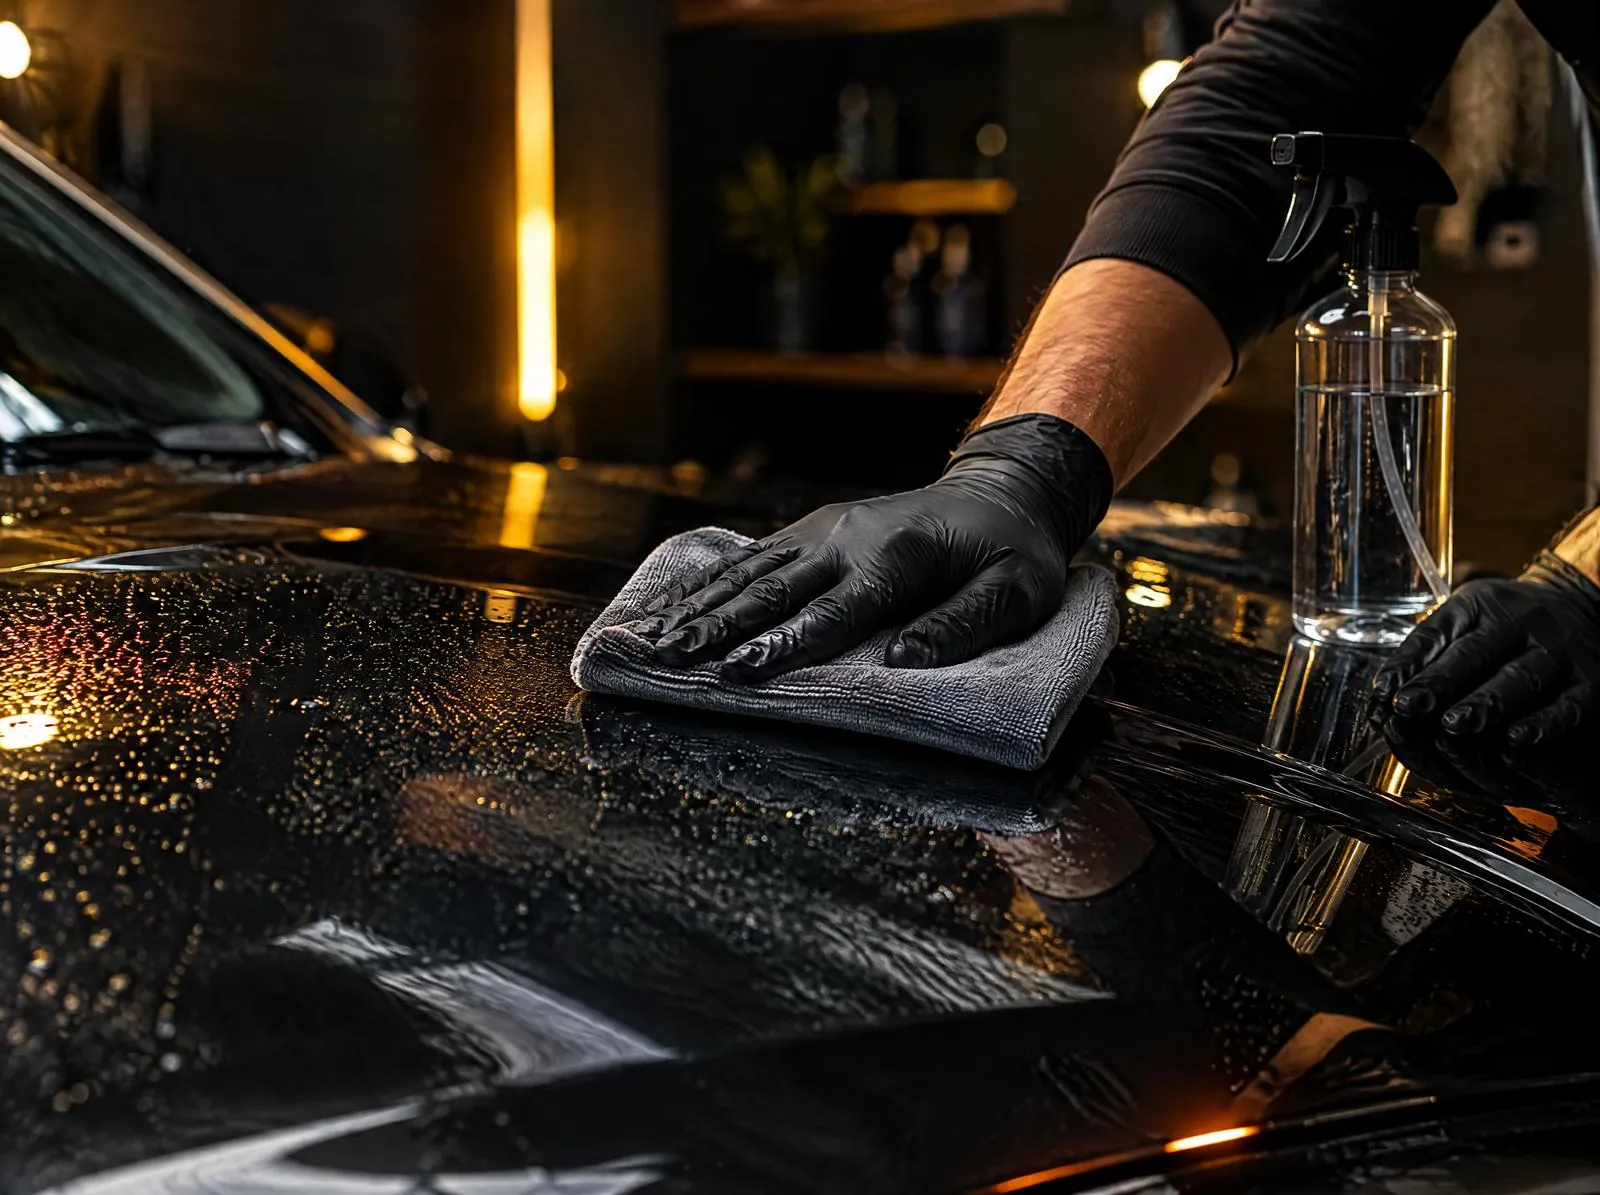
Give the car a proper hand wash with a pH-neutral shampoo, using two buckets if you have them so you’re not dragging grit back onto the paint. Pay attention to the places dirt hides and then migrates onto the film during install: panel gaps, around badges, the edges of headlights, mirror housings and the seam where the hood meets the fenders. Rinse well and dry with clean microfibre.
Step 4:Decontaminate
Washing removes loose dirt, not bonded contamination. Run your hand inside a thin plastic sandwich bag across the hood; if it feels gritty, there’s bonded contamination that will show as bumps under the film.
- An iron remover spray helps on the lower panels and bumper, where brake dust and rail dust collect
- Then clay the panels you’re covering, with plenty of lubricant, until the paint feels glass-smooth
- Rinse and dry again
Step 5:Inspect the paint
Look over every panel you’re covering under a bright light held at a low angle. Film goes over defects; it doesn’t fill them. Anything you can see now, you’ll see under the film.
- Chips: touch them up first, and let the touch-up paint cure fully before covering. Follow the product’s directions, but this usually means waiting days, not hours.
- Swirls and light scratches: polish them out first if they bother you. Film won’t hide them.
- Existing coatings or sealants: film adhesive bonds poorly over ceramic coatings. If your car is coated, the coating needs to be removed from the areas you’re covering, which usually means machine polishing. A detailer can help with this.
Step 6:Mix your solutions
Make both before you start, so you’re not mixing with wet hands later.
| Solution | What’s in it | What it’s for |
|---|---|---|
| Slip | Distilled water with a few drops of baby shampoo (start with 2 to 3 drops per liter) | Lets the film float so you can slide it into place |
| Tack | Distilled water mixed with isopropyl alcohol, commonly around 20 to 30% alcohol | Helps edges and curves grab once a piece is aligned |
| Wipe-down | Isopropyl alcohol and distilled water, roughly half and half | Strips oils and leftover wax just before each piece goes on |
If your kit or film maker gives different ratios, follow theirs. Too much shampoo in the slip solution makes the film slide forever and slows drying; too little and it grabs early.
Step 7:Dry-fit your kit
Unpack the kit on a clean table and match every piece to its spot on the car before any liner comes off. Many pieces look similar, and left and right versions are easy to mix up. Lay each one on the panel with the liner still on to check orientation and how the edges line up with body lines. This five-minute check saves a lot of grief.
Step 8:Prepare yourself, too
- Wash your hands, then wet your fingertips with slip solution before touching the adhesive side
- Wear short sleeves or roll them up, and skip fuzzy sweaters that shed lint
- Tie back long hair
- Keep pets and curious kids out of the work area for a while
Step 9:Final wipe, then install
Right before each piece, wipe that panel down again with the alcohol mix and a clean towel, then spray it with slip solution. Spray your fingertips and the adhesive side of the film as you peel the liner. Then float it into place, check alignment and squeegee from the center outward. Start small: headlights or mirror caps are good warm-ups before the hood.
Step 10:Let it cure
After installing, leave the car somewhere sheltered if you can. Don’t wash it for at least 48 hours, and longer in cool or damp weather. Small water pockets and a bit of haze are normal and usually clear within days to a couple of weeks as moisture escapes. Keep pressure-washer spray off the edges for the first few weeks.
How long prep takes
Plan on prep taking about as long as the first few pieces of film, and don’t squeeze it in. For a partial or full front, a careful wash, decontamination and inspection is usually a couple of hours. If you need to touch up chips first, do the prep a few days before your install day so the touch-up paint can cure. On the day itself, you only need a quick wash and the final alcohol wipe before each piece.
Common prep mistakes
- Skipping the clay because the paint “looks clean”
- Washing in the sun and leaving water spots behind
- Forgetting panel gaps, where dirt hides and creeps out mid-install
- Using tap water in the solutions when you have hard water
- Doing the final wipe-down on every panel at once, so the first panels collect dust before you get to them
The one-page checklist
- Sheltered space, 15 to 25 °C, no direct sun
- Supplies laid out on a clean table
- Car washed, including gaps and edges
- Iron remover and clay on covered panels
- Paint inspected; chips touched up and cured
- Coating removed if the car was coated
- Slip and tack solutions mixed and labeled
- Every piece dry-fitted
- Final alcohol wipe right before each piece
Quick answers
Do I need to clay bar my car before installing PPF?
Yes, on any panel you’re covering. Washing doesn’t remove bonded contamination, and anything left on the paint ends up as a bump under the film.
Can I install PPF over a ceramic coating?
It isn’t recommended. Film adhesive bonds poorly to coatings. Remove the coating from the areas you’re covering first, usually by polishing.
What is the best slip solution for PPF?
Distilled water with a few drops of baby shampoo works well for most films. Start with 2 to 3 drops per liter and adjust.
Find the right kit for your Tesla
Every KitCutz kit is pre-cut for your exact year and trim, and fitment is verified before you pay. Silver starts at $499 CAD, Gold at $699 and Platinum at $1,799.
Weighing up DIY kits? See how KitCutz compares.