The Model Y does a bit of everything: daily commute, school run, road trip, Costco haul. Each of those exposes different parts of the car to grit, salt and scuffs. Instead of buying the biggest package, look at where a Model Y takes damage and cover those spots first.
Why the Model Y needs a plan
Tesla paint has a reputation for chipping more easily than many owners expect, and plenty of Model Y drivers find their first chips within weeks of delivery. On top of that, the car’s shape puts a lot of painted surface right in the firing line. There’s no grille breaking up the front, so the bumper is one big smooth painted face. The hood is short and steep, and the front fenders curve out toward the wheels.
The upside: because damage is so concentrated at the front, a focused kit goes a long way.
Where a Model Y takes damage, in order
1. Front bumper
The biggest single target on the car. It’s low, it’s forward, and with no grille it’s almost entirely paint. Stones, salt spray and bugs land here first. If you only protect one large panel, many owners would pick this one.
2. Hood leading edge
The front of the hood catches stones kicked up by the car ahead. On the Model Y’s steep hood, the chips tend to cluster in the first third or so. A partial hood piece covers this zone; a full hood removes the film line.
3. Front fenders
The fronts of the fenders, above and ahead of the wheels, take both forward debris and spray from your own tires.
4. Mirror caps and headlights
Small, forward-facing, and they chip and pit quickly. These are inexpensive to cover and easy for a first-time installer, which makes them a perfect place to start.
5. Lower doors and the area ahead of the rear wheels
Your front tires throw grit and salt backwards along the sides of the car. On a Model Y, the bottom of the doors and the painted area just in front of the rear wheels get sandblasted over time, especially through a Canadian winter. It’s easy to miss until you wash the car in spring and feel the texture.
6. Rear bumper and liftgate area
Not from the road, from you. Loading groceries, strollers, hockey bags and luggage leaves scuffs on the top of the rear bumper and around the liftgate opening.
What to cover on your budget
| Package | Model Y areas | Best for |
|---|---|---|
| SilverPartial Front | Front of hood and fenders, front bumper, headlights, mirror caps | City and mixed driving, tighter budgets, a first install |
| GoldFull Front | Full hood, full fenders, front bumper, headlights, mirrors, door edges | Highway commuters, new cars, darker colors |
| PlatinumWhole Car | Everything in Gold plus doors, rockers, rear bumper, liftgate and more | Long-term owners, gravel roads, heavy winter driving |
For most Model Y owners who drive any amount of highway, Gold is the one we’d pick. It covers the whole hood, so there’s no film edge partway up, plus the full fenders and the door edges. See exactly what’s included on the Model Y kit page.
Don’t overlook the lower sides
If you live somewhere with long salt seasons or drive gravel roads to a cottage or trailhead, think about the rockers and lower doors. They’re not glamorous, but they’re where winter grime does slow, steady damage. Our guide to five small panels people overlook goes into more detail.
Partial front vs full front on a Model Y
Partial front covers the leading sections: the first part of the hood and fenders, plus the mirrors and headlights. It stops most chips where they start. Full front covers the entire hood, full fenders and the whole front bumper. It costs more, takes longer to install and leaves no visible film line across the hood. On a white Model Y the partial-hood line is very hard to see. On black or deep blue, you may notice it when the car is dirty.
Check your Model Y generation before ordering
The refreshed Model Y that started deliveries in 2025 has a different front end, with a slim light bar across the nose, plus a different rear. Its bumpers and lights don’t match earlier cars, so patterns are not interchangeable. Performance versions can also have their own bumper and trim details.
When you request a kit, tell us the model year, trim, color and any changes to the car, like aftermarket bumpers, wraps or a tow hitch. If anything is unclear we’ll ask for a photo before you pay. A kit cut for the wrong bumper is the most expensive mistake in DIY film.
Model Y details to know
- The glass roof. Most of the Model Y’s roof is glass, so there’s very little painted roof to protect compared with many SUVs.
- Sensors and cameras. Good patterns leave the right openings for sensors and cameras. Don’t cover them with film from another source.
- Door handles. The paint around the handles collects fingernail scratches. Small pieces here are cheap insurance.
- The charge port door. It gets opened every day. It’s a small piece, but a nice one to have covered.
Color makes a difference
On a white Model Y, small chips and film edges are both hard to see, so a partial front can look very clean. On black, deep blue or red, chips stand out against the darker paint and show the white primer underneath, which is a big reason owners of darker cars tend to go for full front. Gray and silver sit somewhere in between.
Winter tips for Model Y owners
- Rinse the front end and lower sides every two to three weeks through salt season
- Mud flaps noticeably reduce grit blasting along the lower doors and rear quarters
- Use a soft snow brush on the hood, never an ice scraper
- Check the bumper film edges each spring and fix any lifting early
- Read how long PPF lasts in Canada for a full winter routine
Planning the DIY install
Work in a clean, sheltered space with good light and give yourself more time than you think you need. A sensible order on a Model Y is headlights and mirror caps first, then fenders, then the hood, and the front bumper last. The bumper is the largest and most curved piece, so do it on a fresh day if you can, ideally with a helper.
- Prep the whole front end properly before you start. See how to prepare your car.
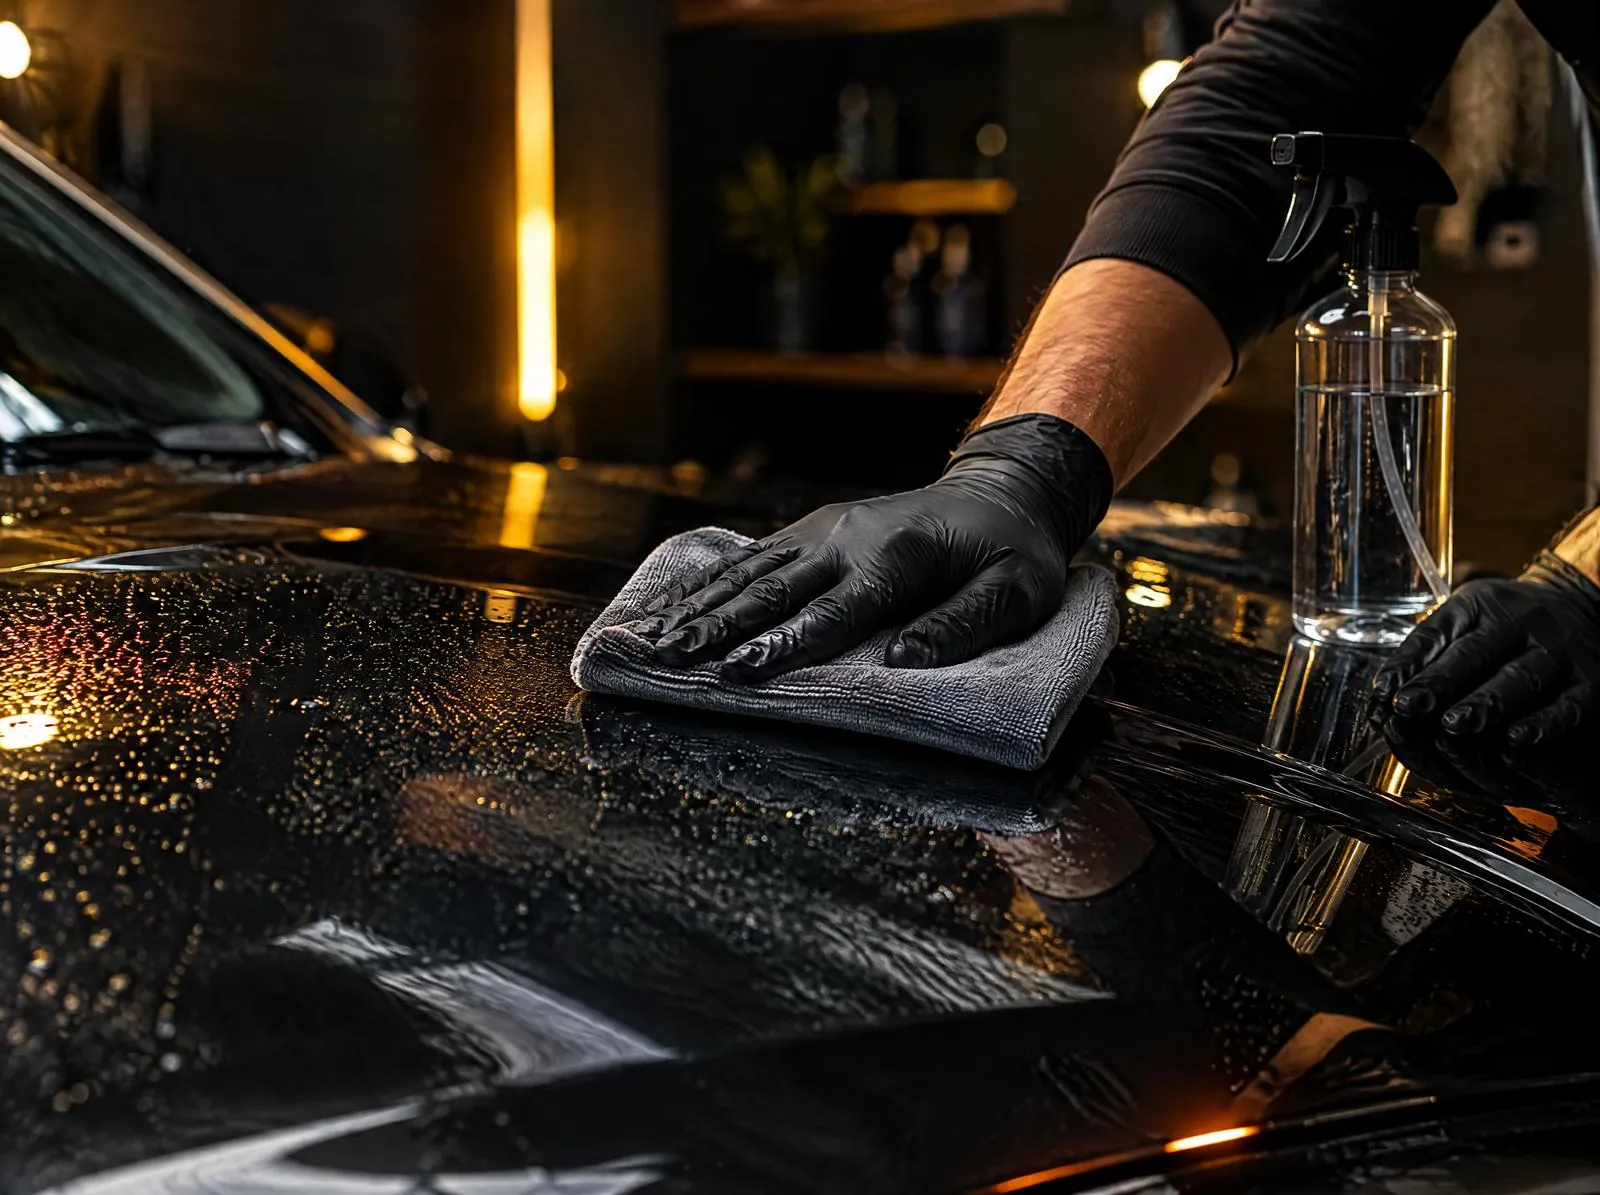
- Use plenty of slip solution on the bumper. You’ll be repositioning it more than once.
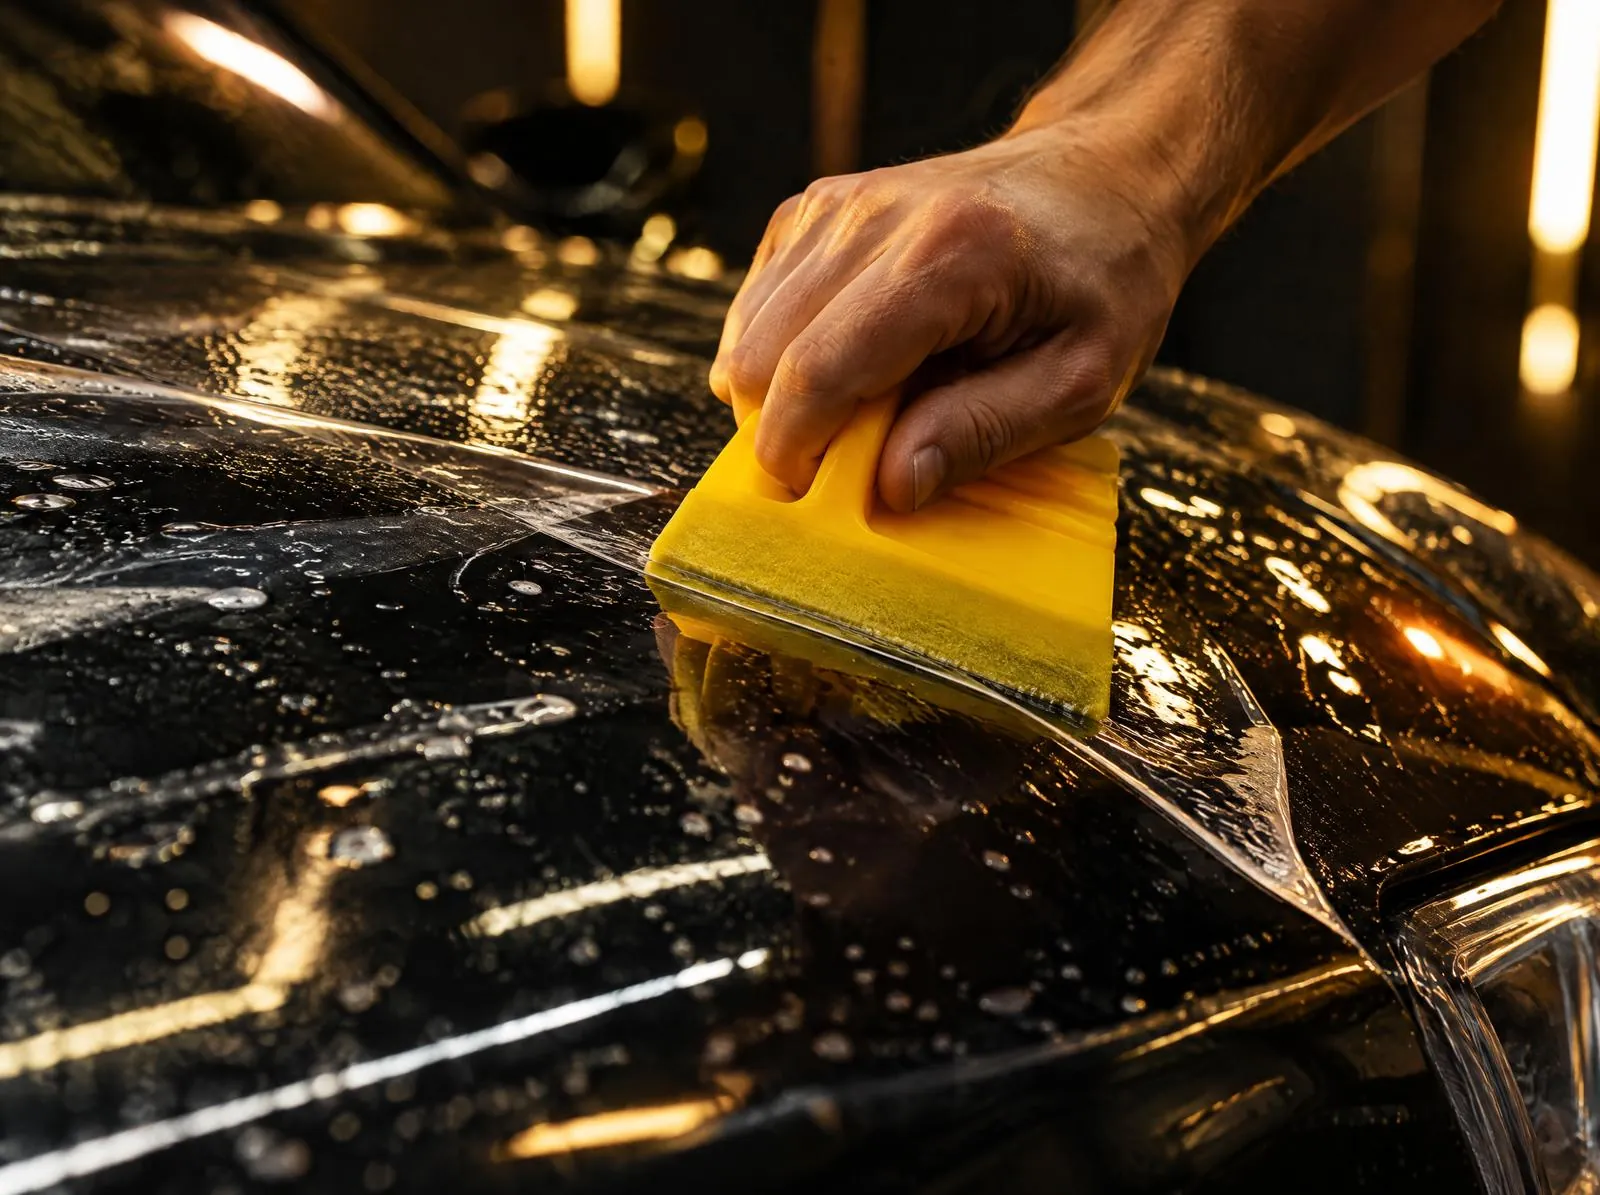
- Use gentle heat on the bumper curves, and don’t force the film.
- Wait at least 48 hours before washing and keep pressure-washer spray off the edges for a few weeks.
Quick answers
What is the most important area to protect on a Tesla Model Y?
The front bumper and the front of the hood. With no grille, the Model Y’s bumper is a large painted surface right in the path of road debris.
Does Tesla Model Y paint chip easily?
Many owners report chips early on, especially on the bumper and hood. Film over the front end is the most effective way to prevent them.
Do refreshed Model Y PPF kits fit older Model Y cars?
No. The refreshed Model Y has a different front and rear end, so patterns aren’t interchangeable. Always order by exact year and trim.
Find the right kit for your Tesla
Every KitCutz kit is pre-cut for your exact year and trim, and fitment is verified before you pay. Silver starts at $499 CAD, Gold at $699 and Platinum at $1,799.
Weighing up DIY kits? See how KitCutz compares.